Users
Creating a user
You can add and manage users who may have access to the business account and make use of it depending on the assigned role.
Permissions required
- Be the owner of the business account (by default you already have a 'SuperAdmin' role).
- Be a user who is assigned a role with 'Create and modify roles' permissions.

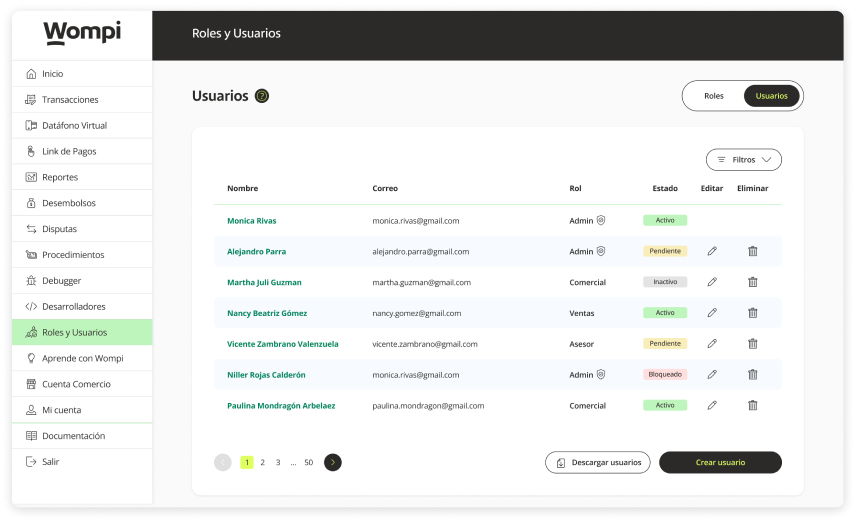
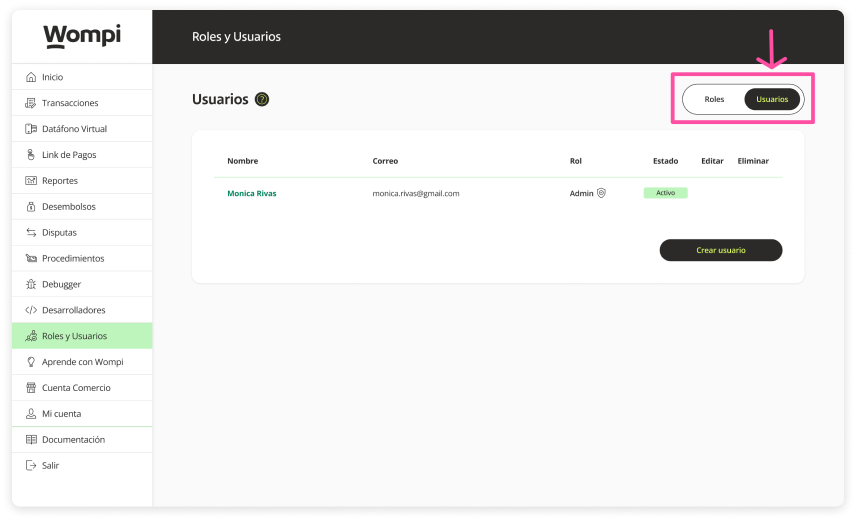
In the Roles and Users section, go to the Users section.


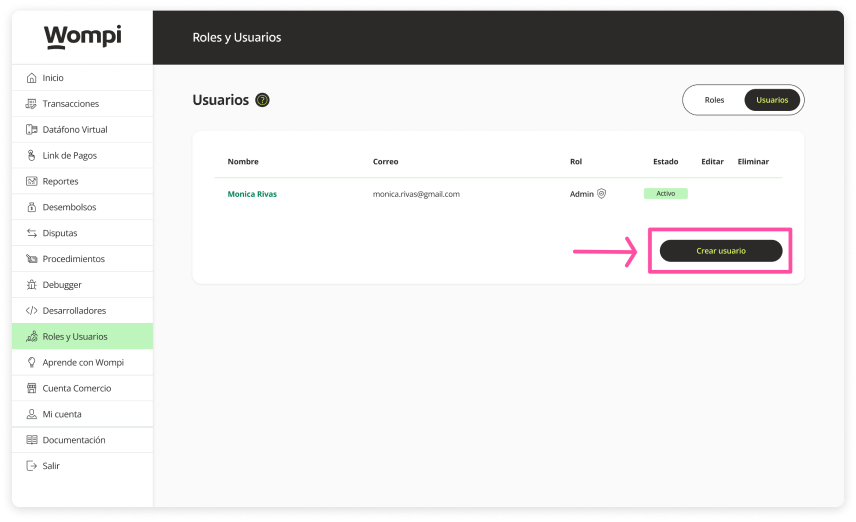
Click on the 'Create user' button.


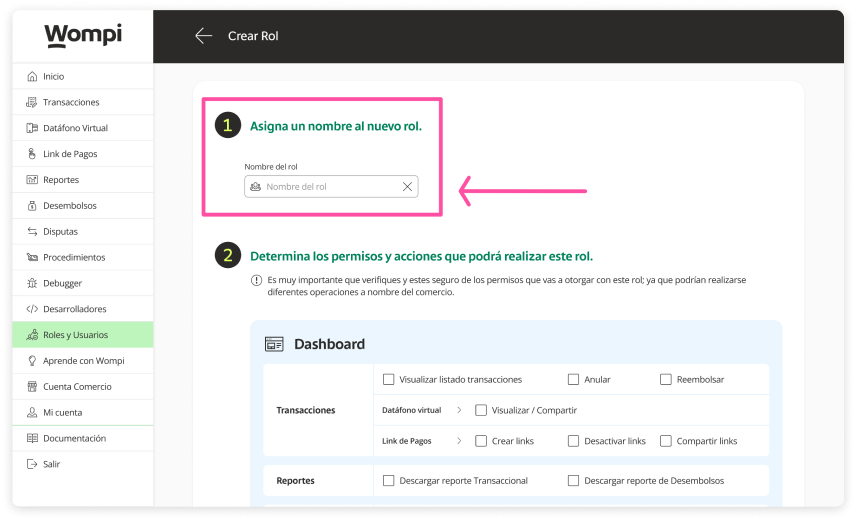
Assign a name to the role you will create so that you can identify it.

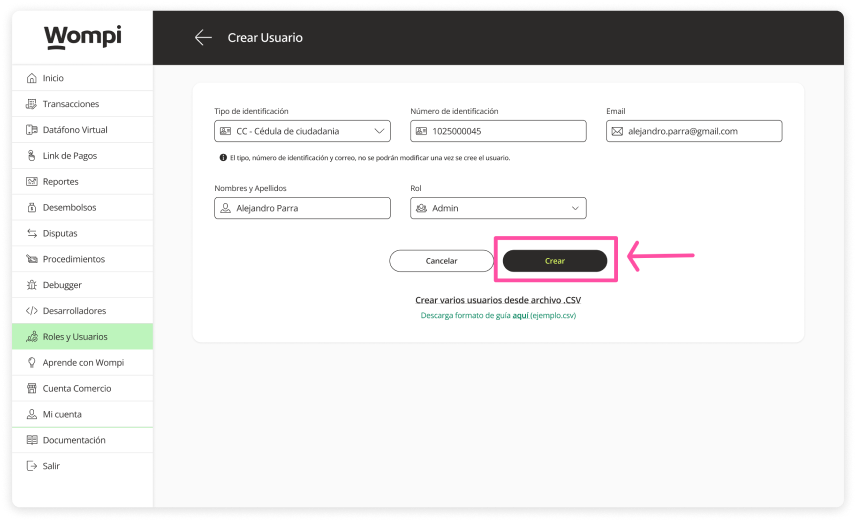
You must enter the information of the new user such as: Type and identification number, Email, first and last names and the role you will assign to them

Keep in mind: The type, identification number and email cannot be modified once the user is created.

For the moment every user will have an 'Admin' role that will give them access to all business functionalities on the Wompi platform. We will soon enable the option so you can create new roles and customize their actions and permissions.


Once you have entered all the information, click on the 'Create' button.

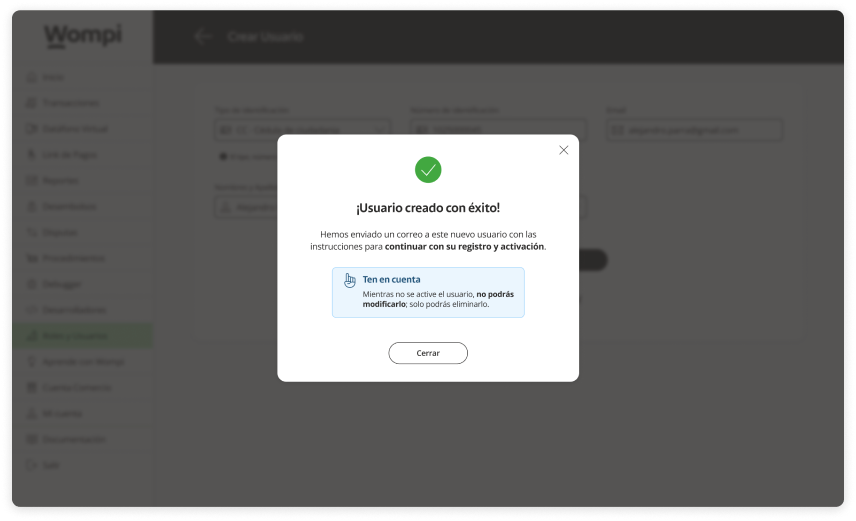
After, a message will appear confirming the creation of the user.

An email will be sent simultaneously with instructions to continue with the registration and activation.

The created user will now be available to be consulted in the users section.
Keep in mind. The new user will remain in a status of 'Pending' until they complete their registration to be activated.

Deleting a user
Permissions required
- Be the owner of the business account (by default you already have a 'SuperAdmin' role).
- Be a user who is assigned a role with 'Create and modify users' permissions.
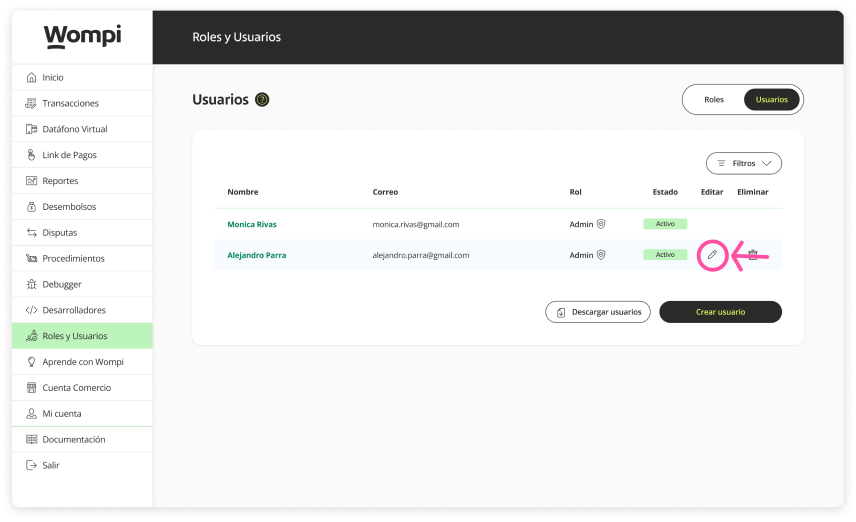
In the 'Users' section, locate the user you want to delete in the list.
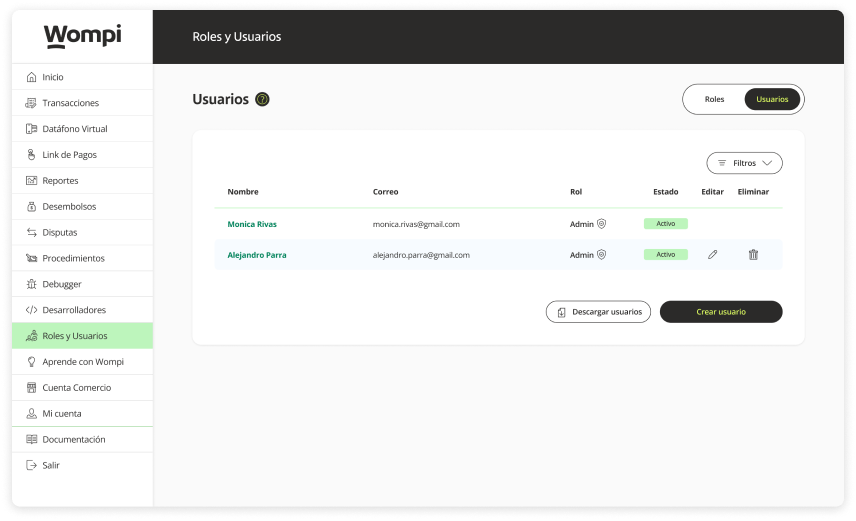
Click on the 'Trashcan' icon to delete.

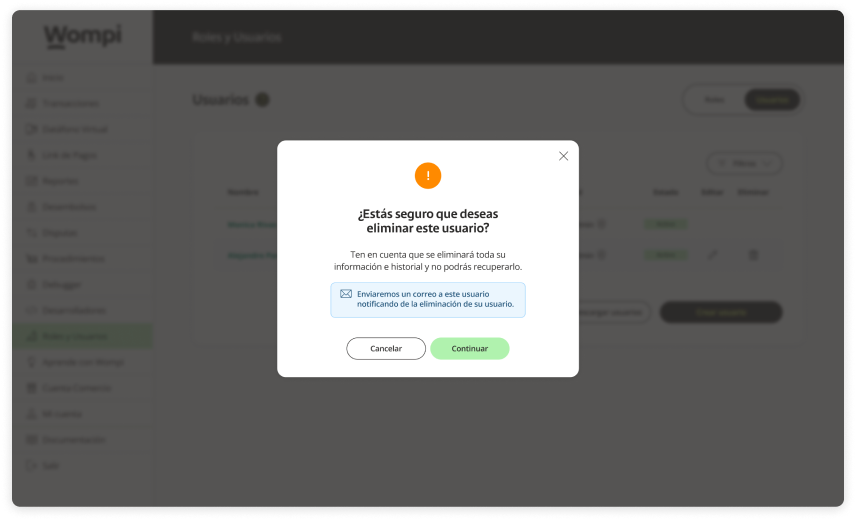
A message will appear asking you to confirm the elimination.
Please note: All information and history will be deleted and you will not be able to recover it.
An email will be sent simultaneously to the user notifying them of the elimination of their user.

The user will no longer be available in the user summary list.
Delete a user from user edit.
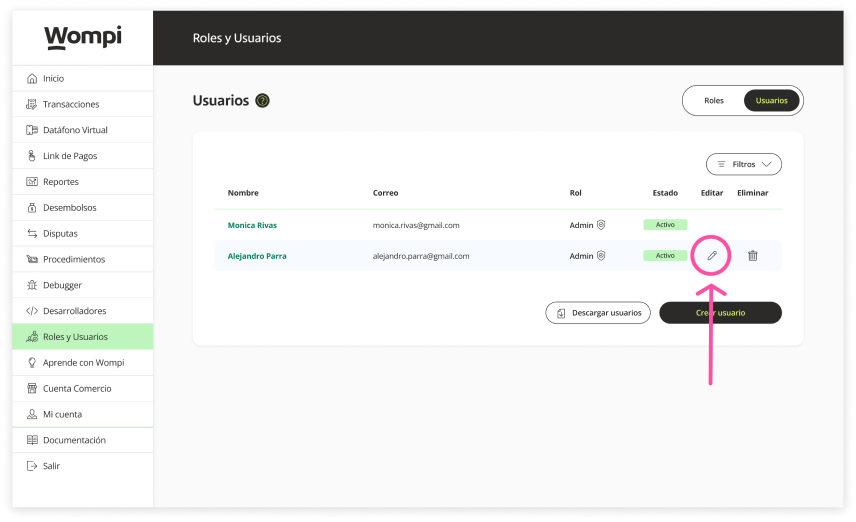
In the 'Users' section, locate the user you want to delete in the list and click on the 'pencil' icon to 'edit'
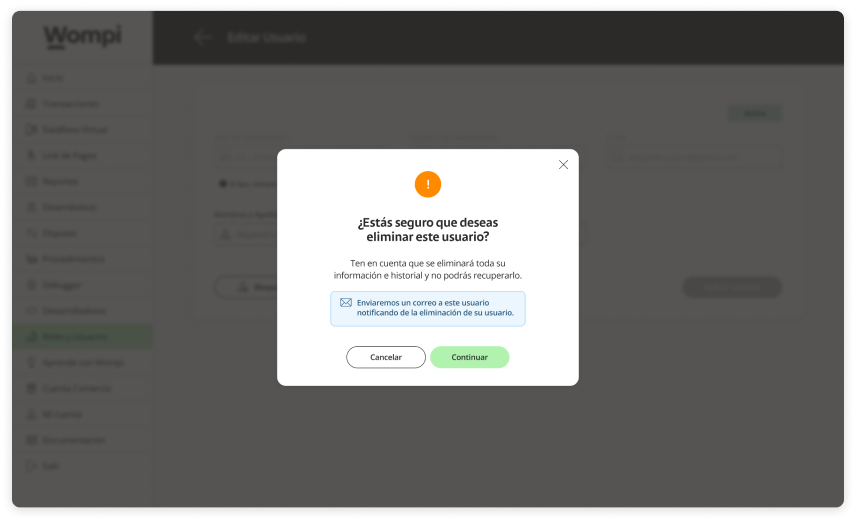
Once inside, locate the 'Delete' button at the bottom and click on it.

A message will appear asking you to confirm the elimination.
Please note: All information and history will be deleted and you will not be able to recover it.
An email will be sent simultaneously to the user notifying them of the deletion of their user.
The user will no longer be available in the user summary list.
Blocking a user
Permissions required
- Be the owner of the business account (by default you already have a 'SuperAdmin' role).
- Be a user who is assigned a role with 'Create and modify users' permissions.
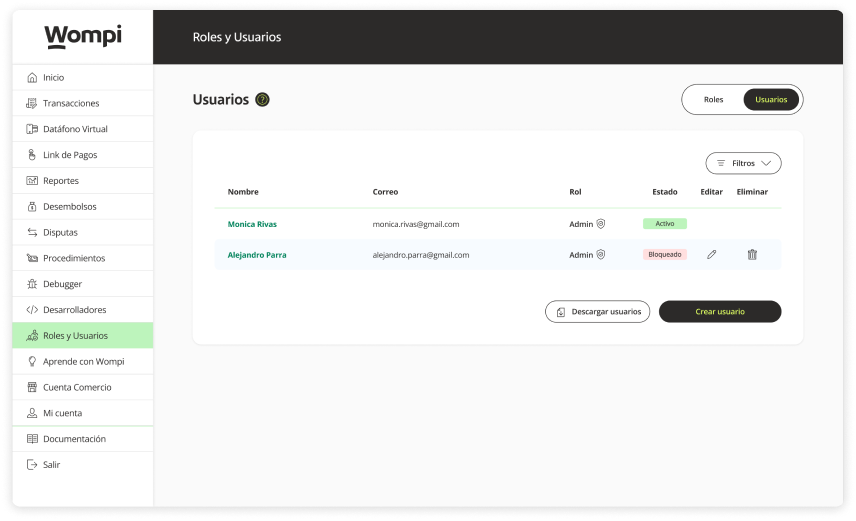
In the 'Users' section, locate the user you want to block in the list.

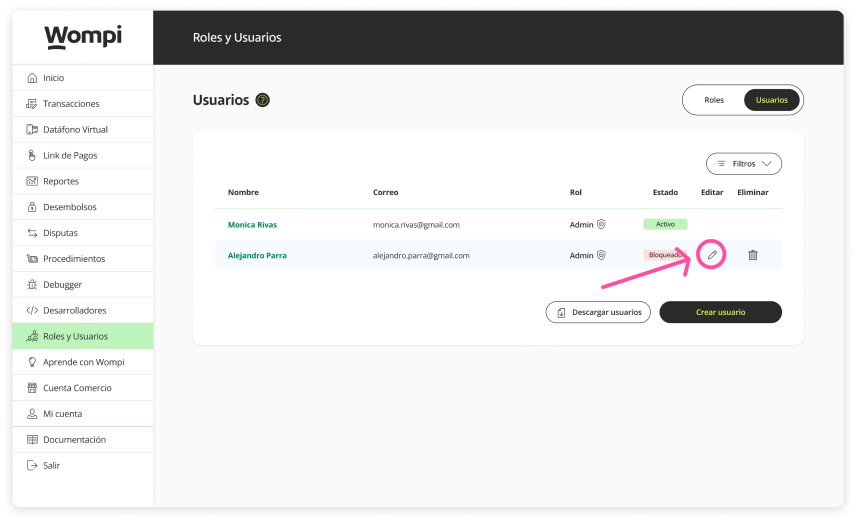
Click on the 'pencil' icon to edit.
In the user detail you will see a label that indicates that this user is 'Active'.
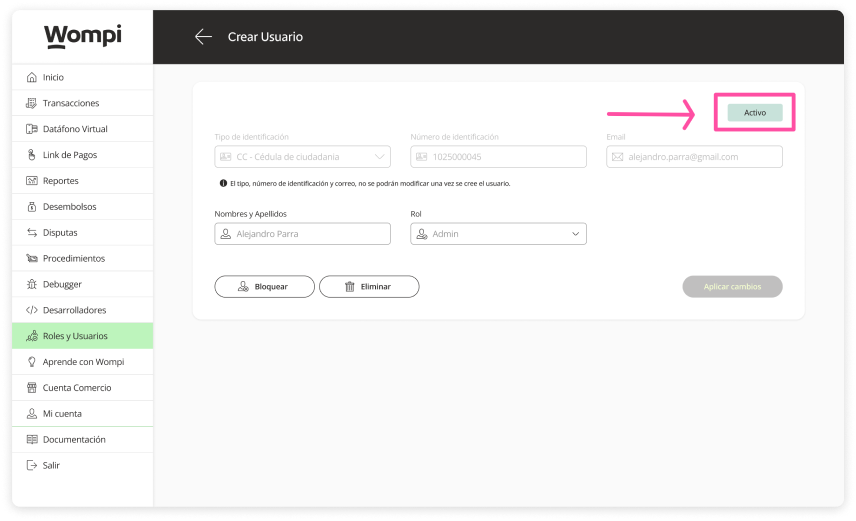
Once inside, locate the 'Block' button at the bottom and click on it.

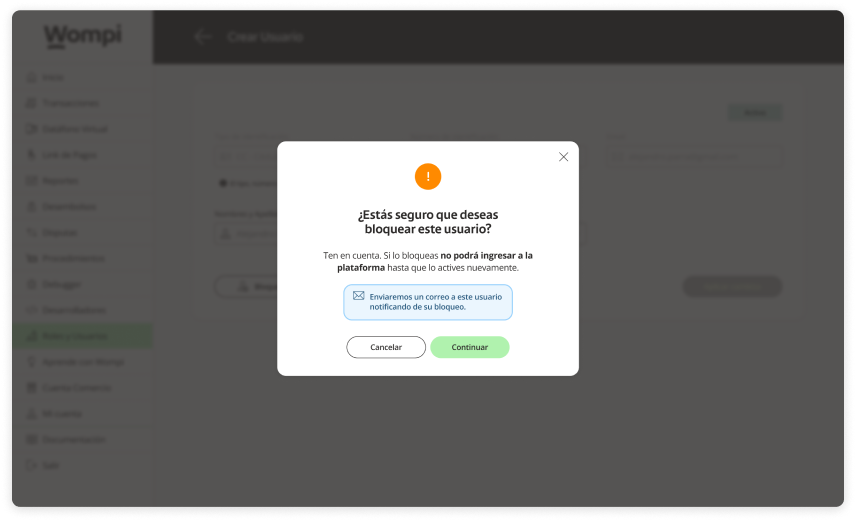
A message will appear asking you to confirm the user's blocking.
Please note: If a user is blocked, they will not be able to enter the platform until you activate them again.
An email will be sent simultaneously to the user notifying them of their block.
If you confirm the block, you will be shown a confirmation message.
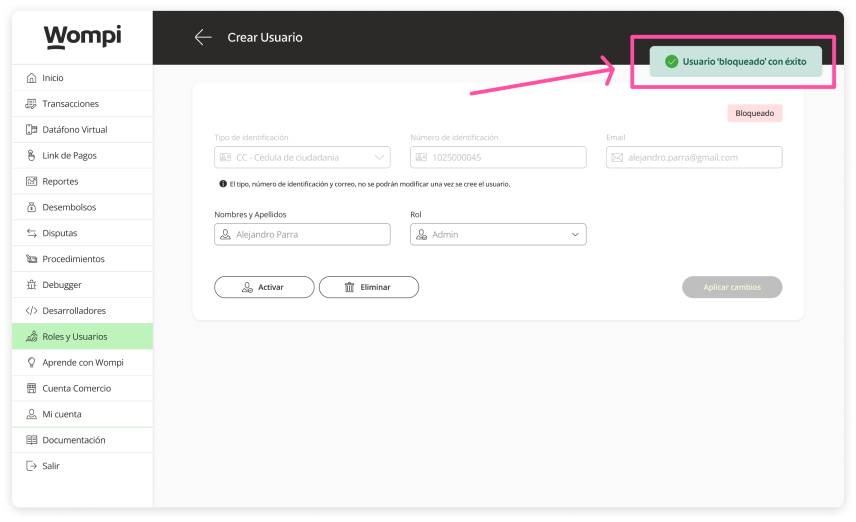
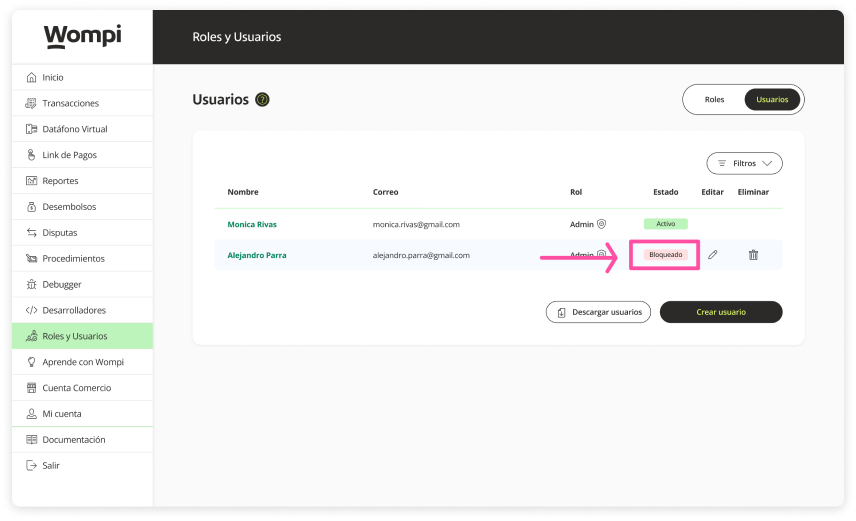
Now in the user details and on the user summary screen, you will see a label that identifies their 'Blocked' status.

Unblock (Activate) a user
Required permissions
- Be the owner of the business account (by default you already have a 'SuperAdmin' role).
- Be a user who is assigned a role with 'Create and modify users' permissions.
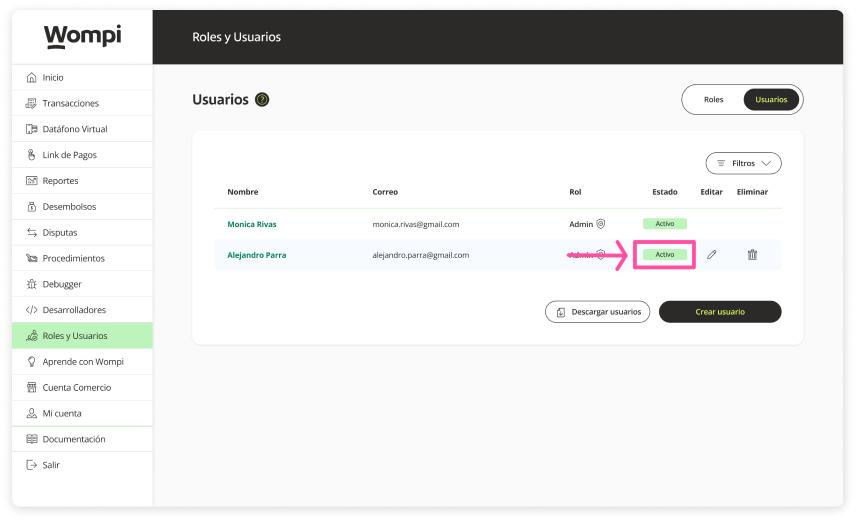
In the 'Users' section, locate the user you want to unblock (activate) in the list.
Click on the 'pencil' icon to edit.
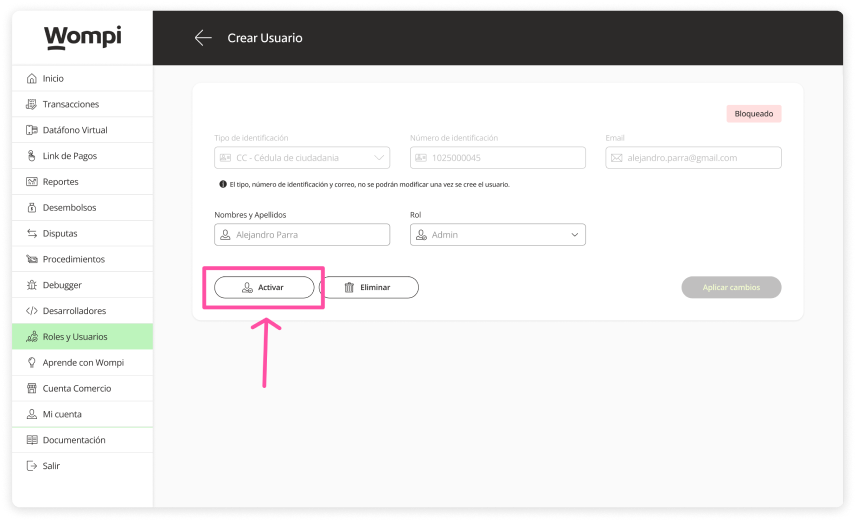
In the user details you will see a label that indicates that this user is 'Blocked'.

Once inside, locate the 'Activate' button at the bottom and click on it.
A message will appear asking you to confirm user activation.
Please note: If you unblock it, the user will be able to enter the platform and manage your business account again (depending on their assigned role).
An email will be sent simultaneously to the user notifying of its unblocking (activation).

If you confirm activation (unblock), you will be shown a confirmation message.
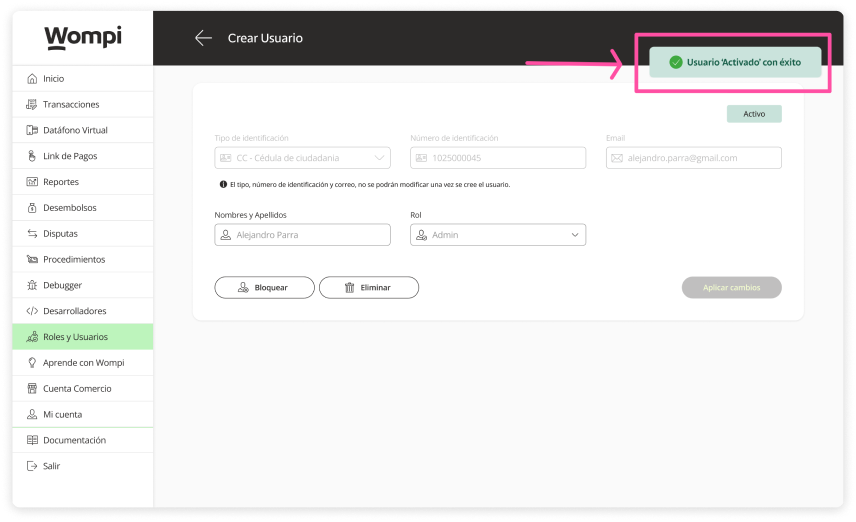
Now in the user details and on the user summary screen, you will see a label that identifies their 'Active' status

Bulk upload of users
You can do bulk data uploads with .CSV (Comma Separated Values) files which are simple text files that are separated by commas or periods and only have letters and numbers. These files are completely flexible according to your needs and allow you to load a lot of information.

You can easily create them with programs like Microsoft Excel and similar.
Permissions required
- Be the owner of the business account (by default you already have a 'SuperAdmin' role).
- Be a user who is assigned a role with 'Create and modify users' permissions.
In the Roles and Users section, go to the Users section.
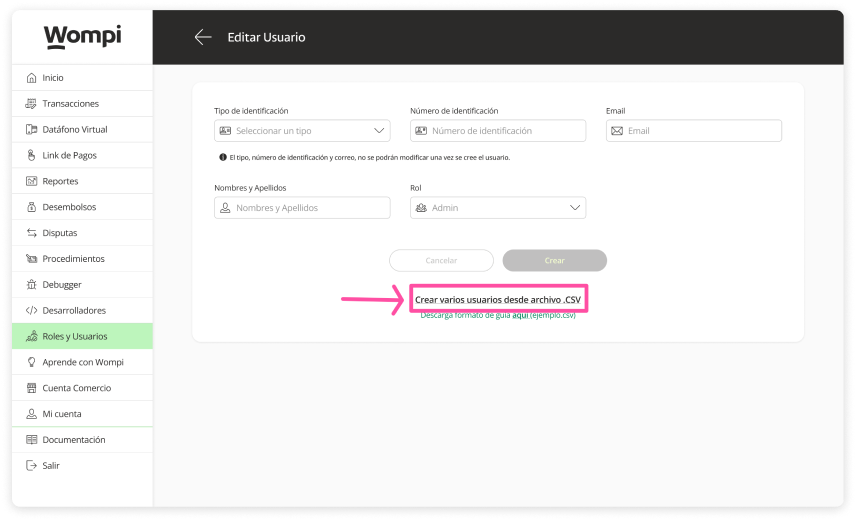
Click on the 'Create user' button.
Select the link: Create multiple users from .CSV file
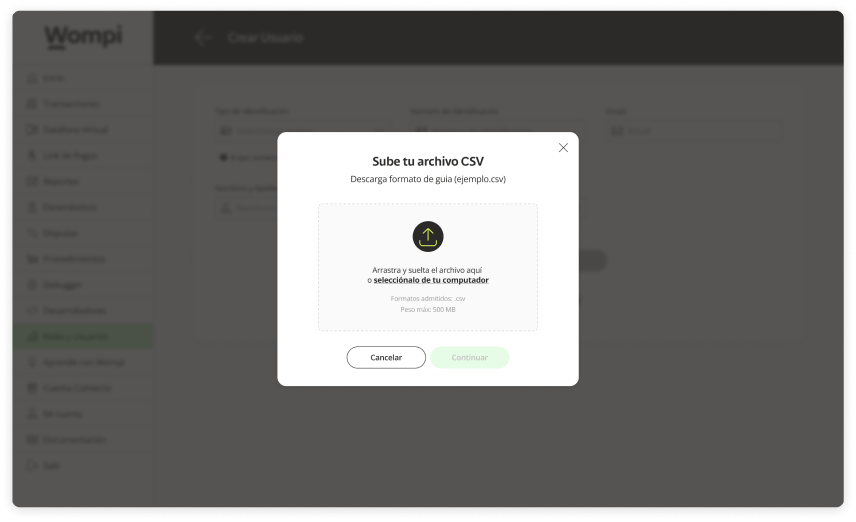
You will have the option to drag the file and drop it (computer) or select it from your device (computer - mobile).
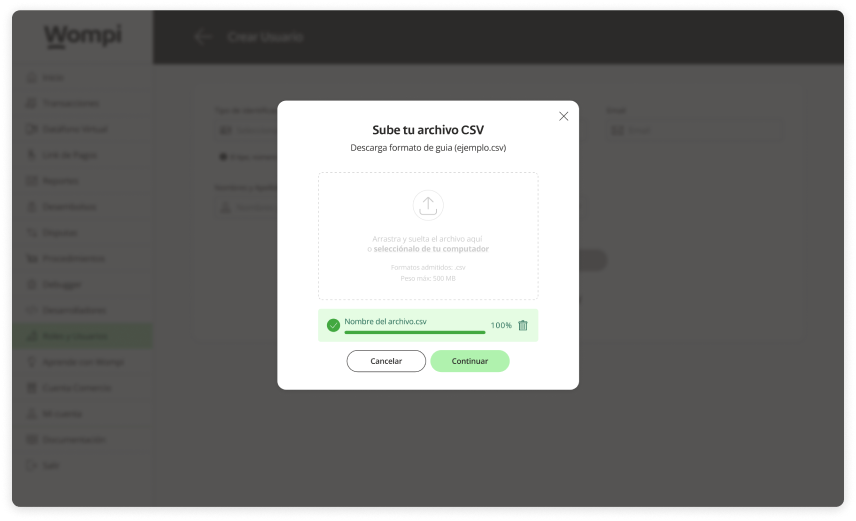
You will be able to see the progress and status of the file you are uploading.
Once the .csv file has been processed, you will be able to see the summary of all the uploaded users. Which you can 'Edit' or 'Delete' if required.